As promised in last week’s post on zines, I’m back this week with some nuts and bolts instructions for how to make hand-bound booklets. Because I’m perpetually extra, both of the projects I’m working on right now are relatively complicated, but both of them start from something that’s more straightforward.
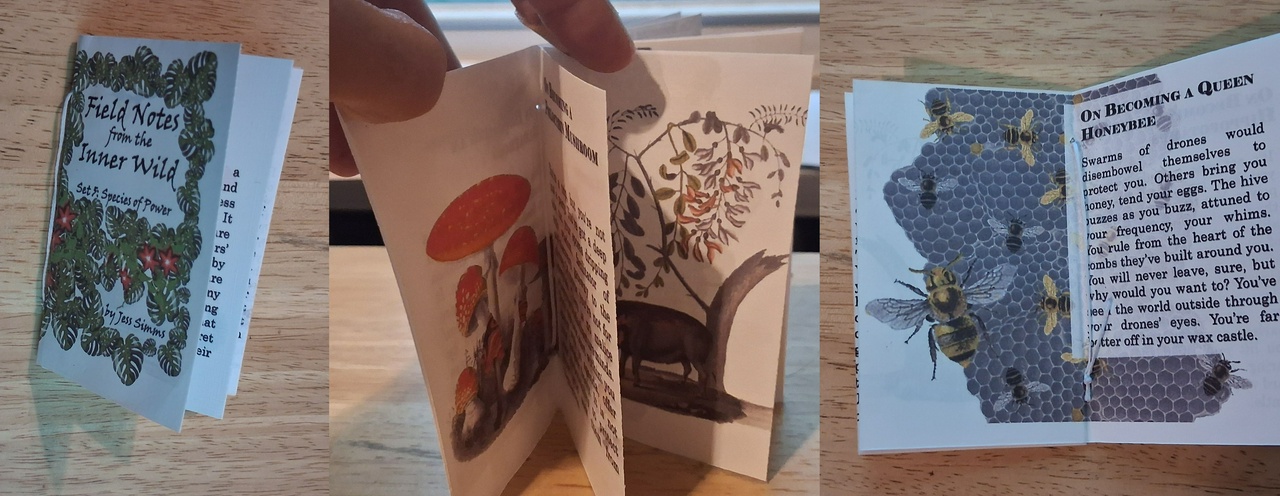
One of them is a single-sheet zine that has 16 pages, instead of the usual 8:
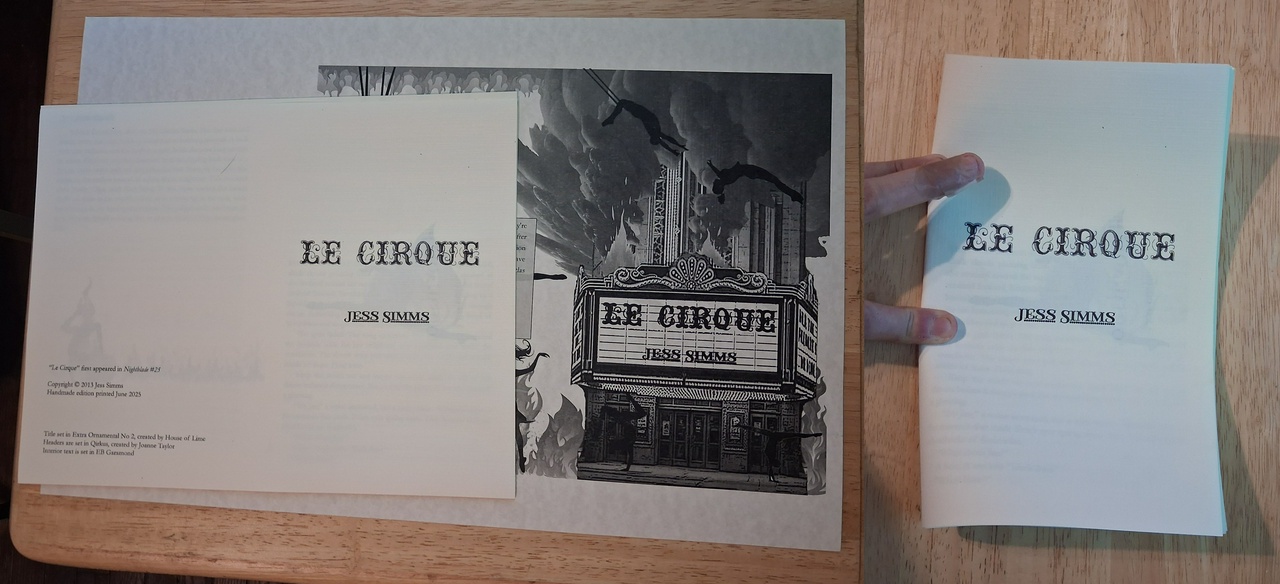
And the other one is a 2nd printing of one of my duo-chapbooks, which has two separate stories included in one book:
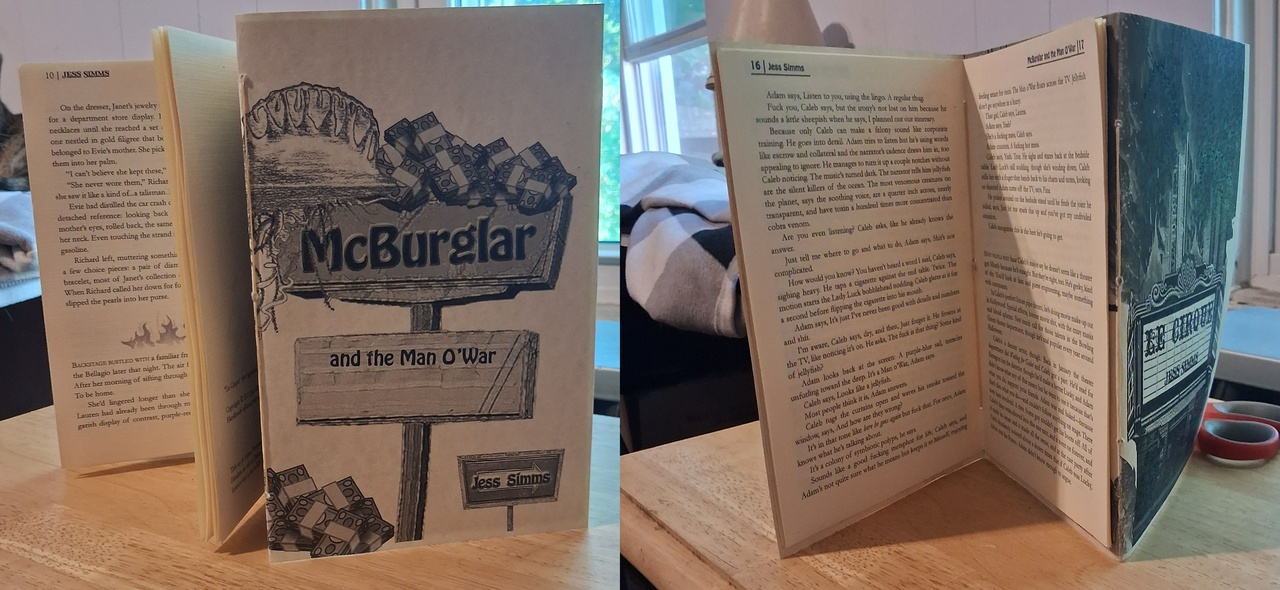
…which is the more complicated-looking of the two, but actually is easier to make. Here’s how I did both of them, starting from the simple version and then explaining how to do the extra version of it.
Single-sheet zines
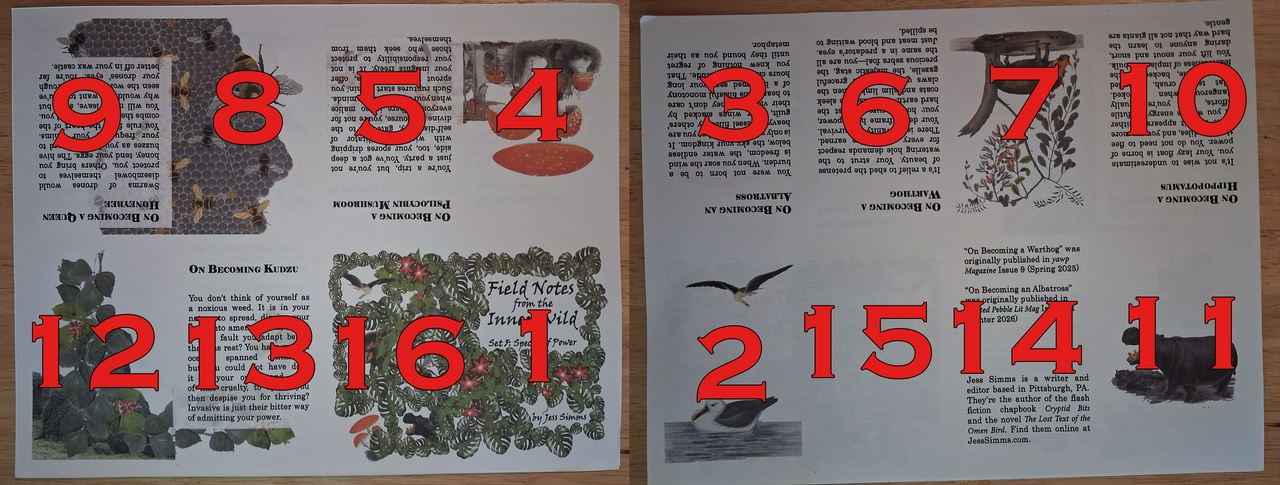
This is a common format for zine makers, and the version with 8 pages is super simple to make. The main tricky part is figuring out how to lay out the content, which is like so:
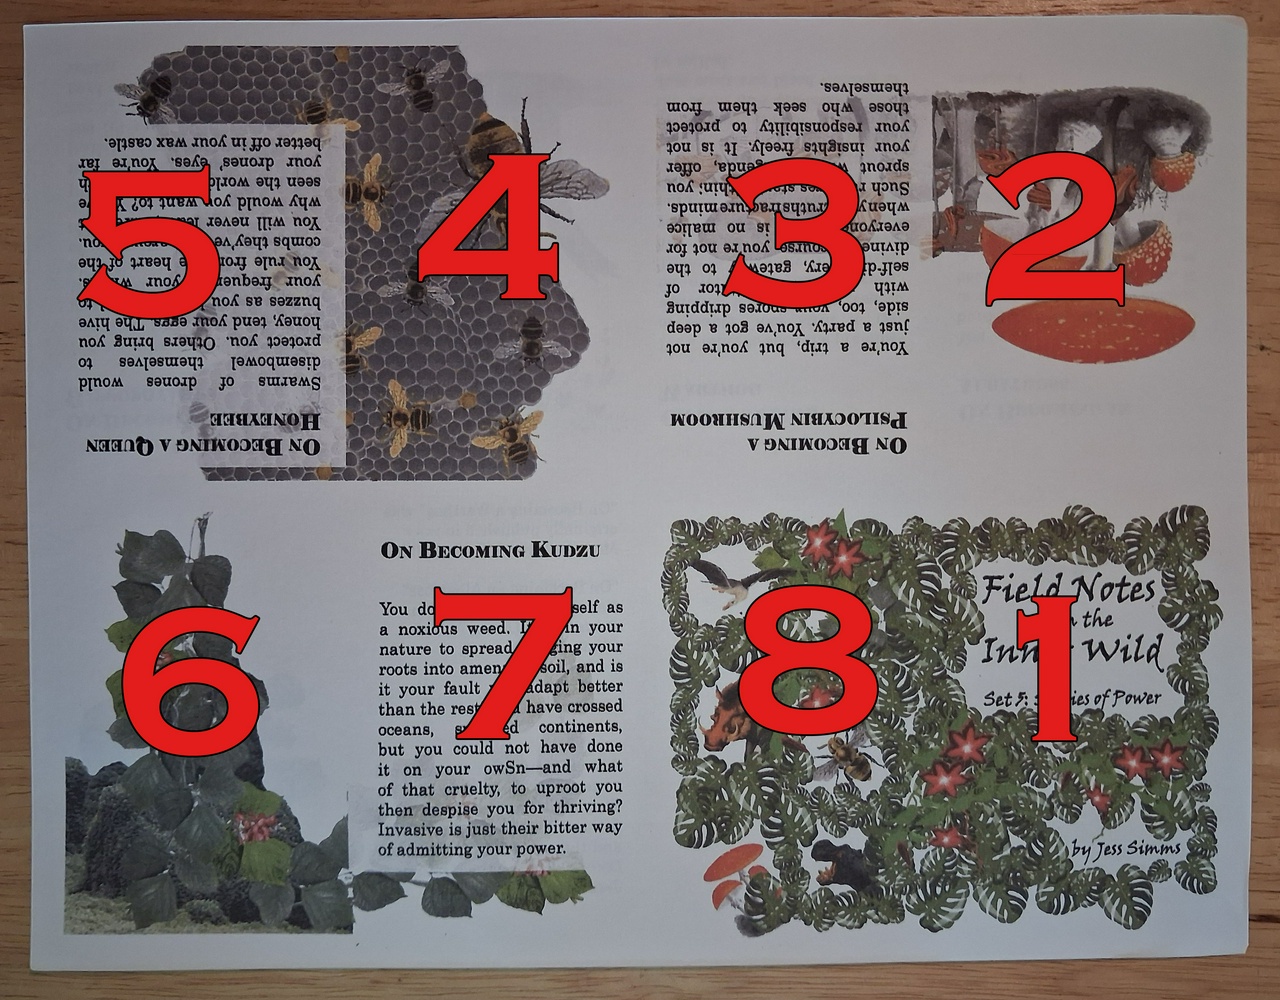
…also notice that the content on pages 2-5 is upside-down. That way, it’ll be rightside-up once you’re done folding.
To start, you want to put some creases in the paper:
Fold hot-dog-style with your content on the outside, crease well, and unfold.
Fold hamburger style, crease well, then unfold and crease the other direction.
With the paper in landscape orientation, fold the outside edges in toward the middle crease. Crease well, then unfold and do the same thing on the other side.
…if you’ve ever done origami, this process will feel familiar, as will some of the folds coming up. When you’re done making the creases, use a craft knife to cut down the center crease between the middle two sets of panels:
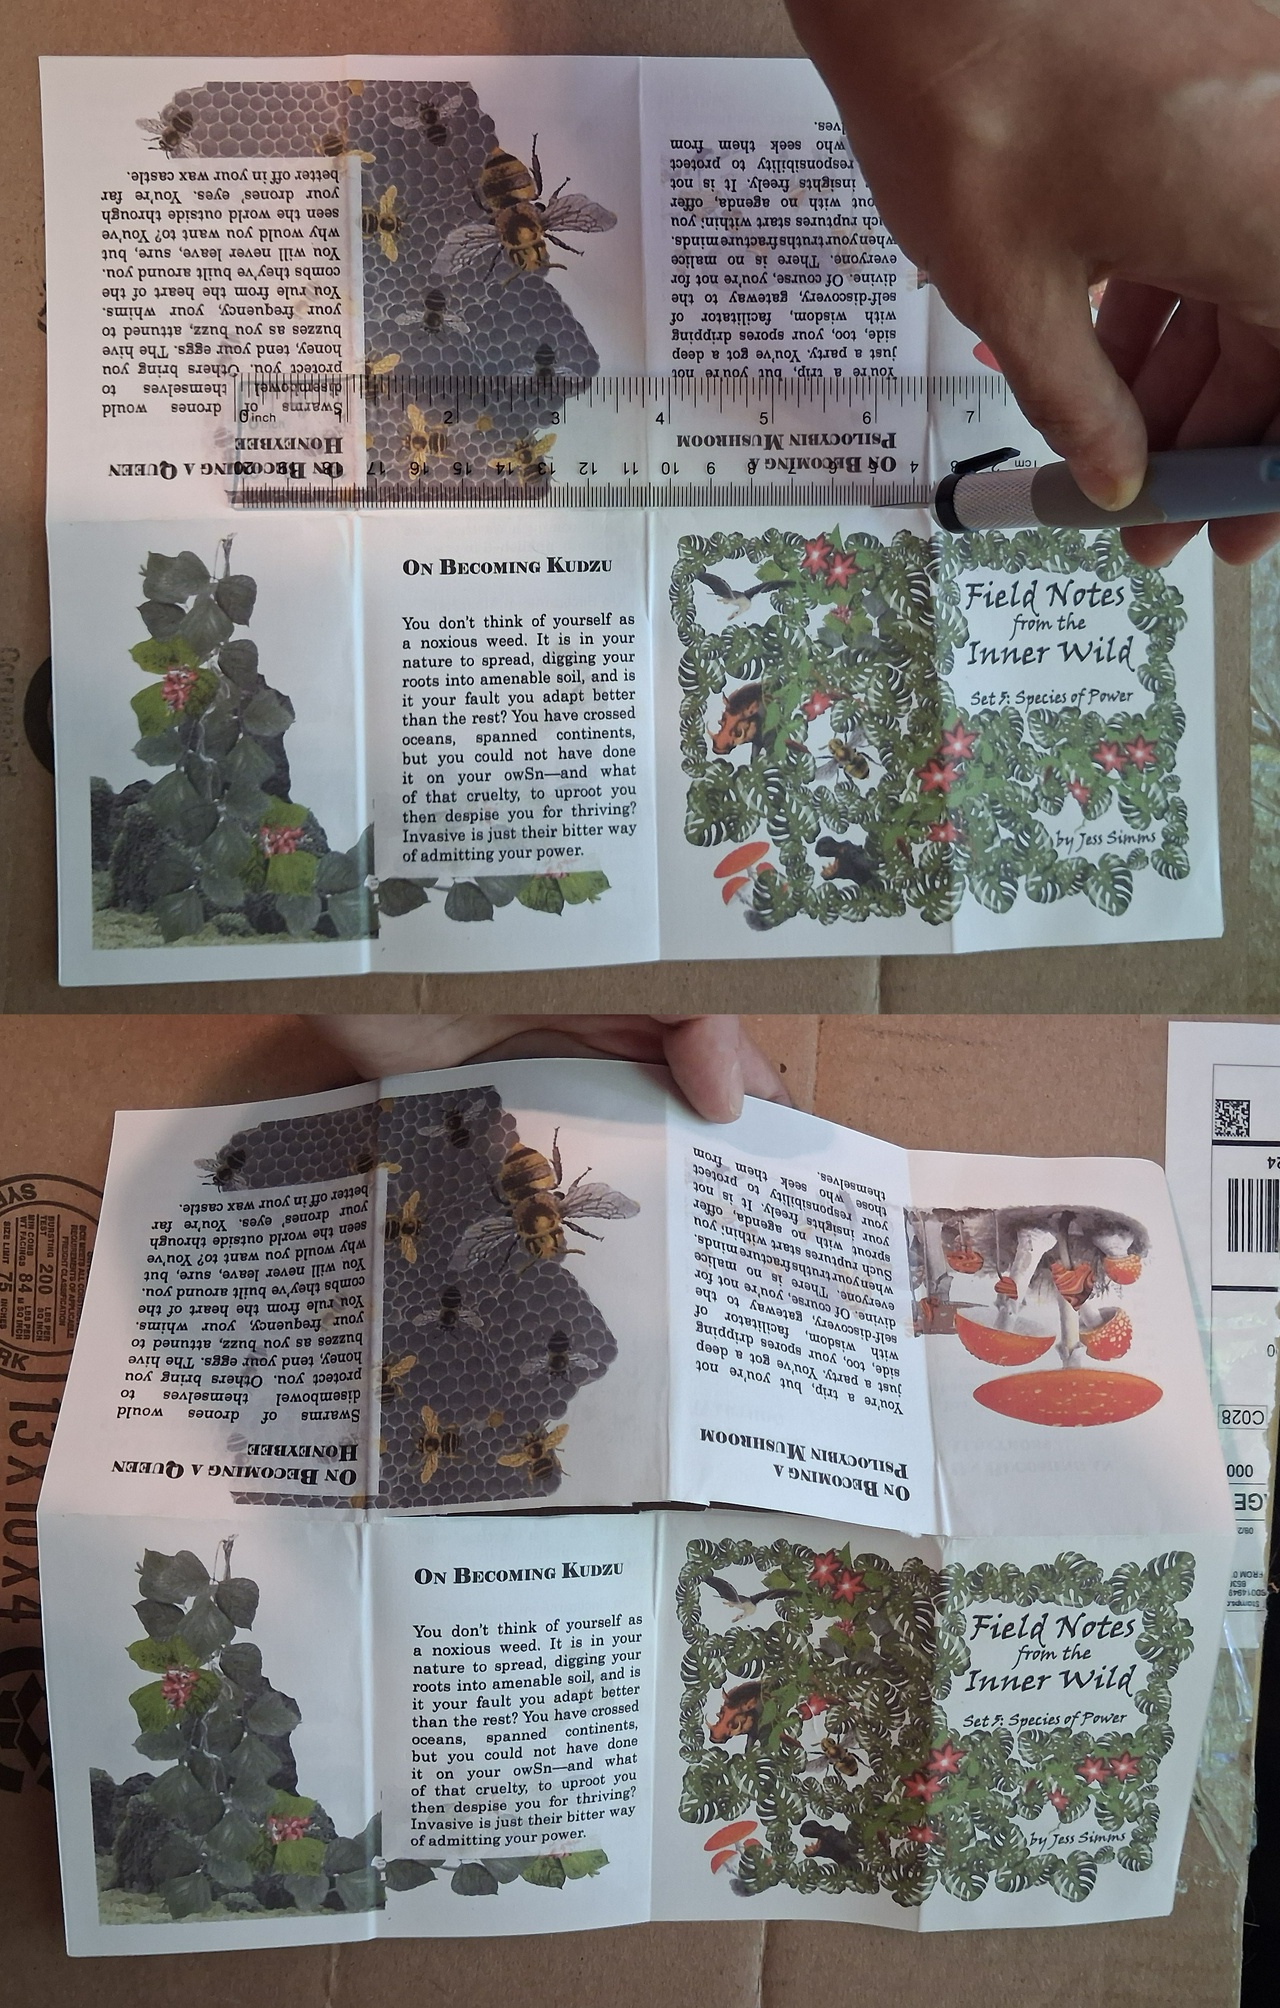
…you’ll notice I didn’t get the cut completely perfect, which is fine for my project because I’m going to be trimming off the top before I finish it. Using a ruler as a guide can help to keep your cut straight.
Once the cut is in place, fold the page in half hot-dog-style:
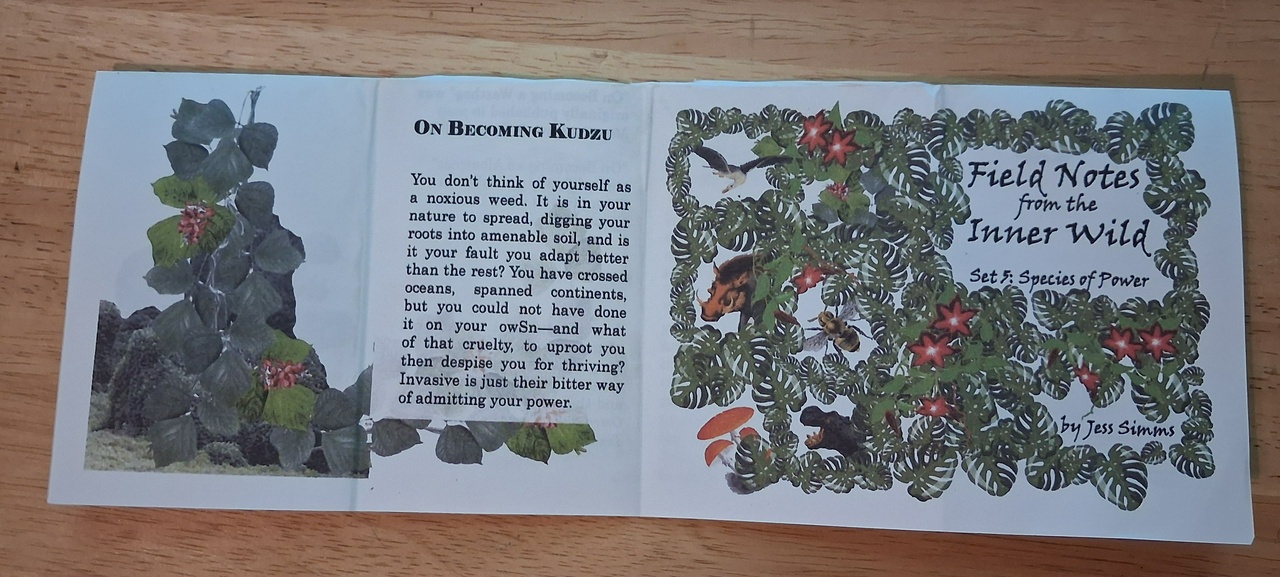
Then push the outsides in until the pages along the slit pop open into a diamond:
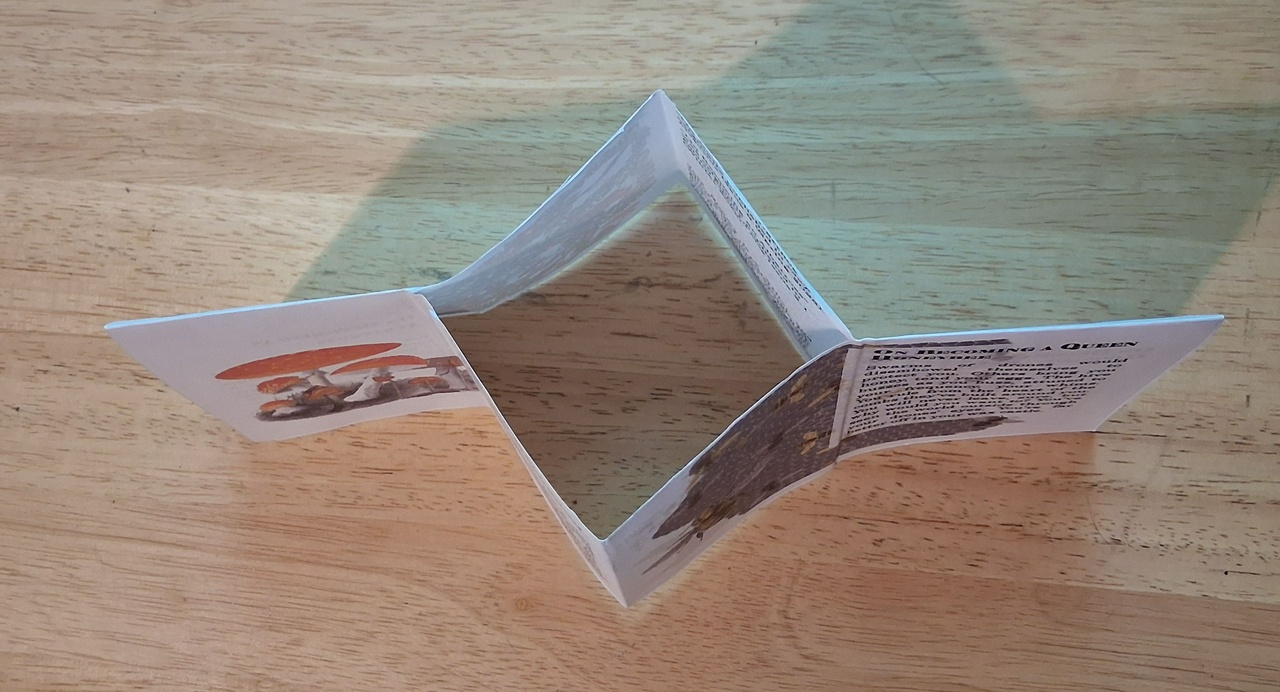
Then fold to create the pages.
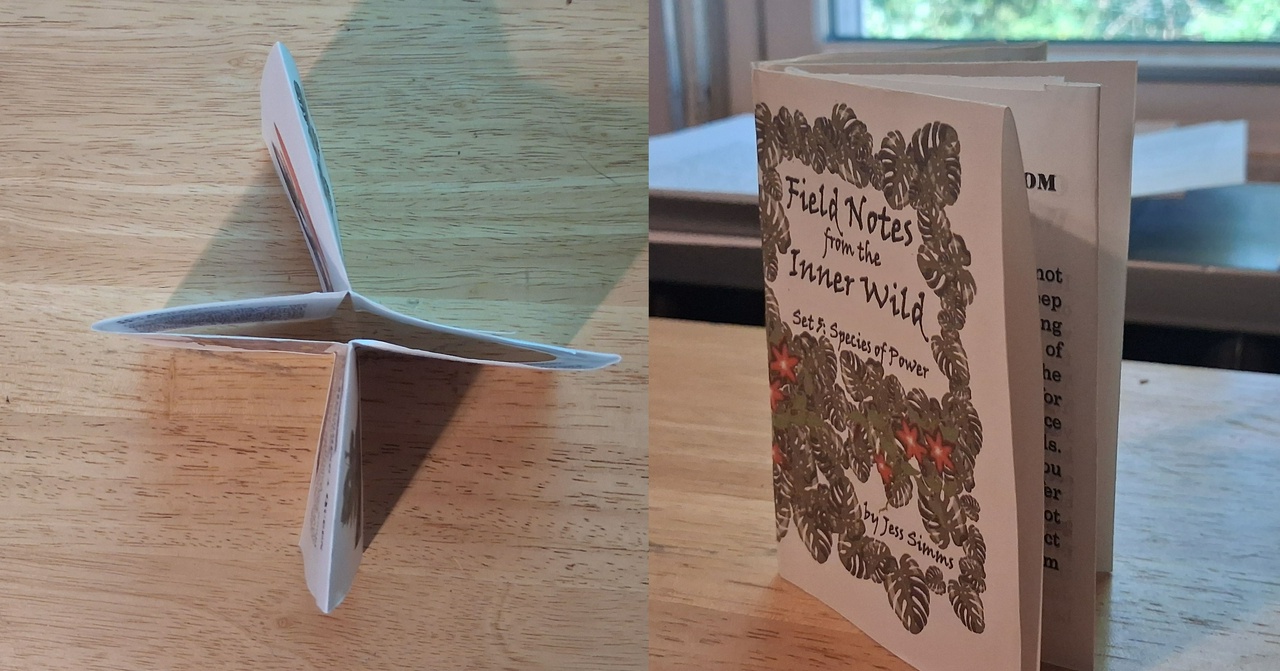
If you’re doing the standard 8-page version, you can stop here. But every time I’ve picked up a zine like this, it’s bugged me a bit that the whole back half of the paper is unprinted. I thought there had to be a way to print on both sides, then cut the paper a few more times to create a 16-page book.
And there is a way, but it’s slightly more complicated than I initially realized. The problem is, once you make the cuts to create 16 pages, it’s no longer a contiguous sheet of paper. That means the pages will fall apart if they’re not bound together. And you can’t just use a staple binding because of the book’s X-shaped center fold. No single staple will go through all of the folds (I learned through trial and error as I was experimenting with this).
The solution I came up with is to use tie binding. To start, I used an awl to poke two holes in each fold. This meant poking the awl through 4 total times: once through each pair of facing folds at the top and at the bottom.
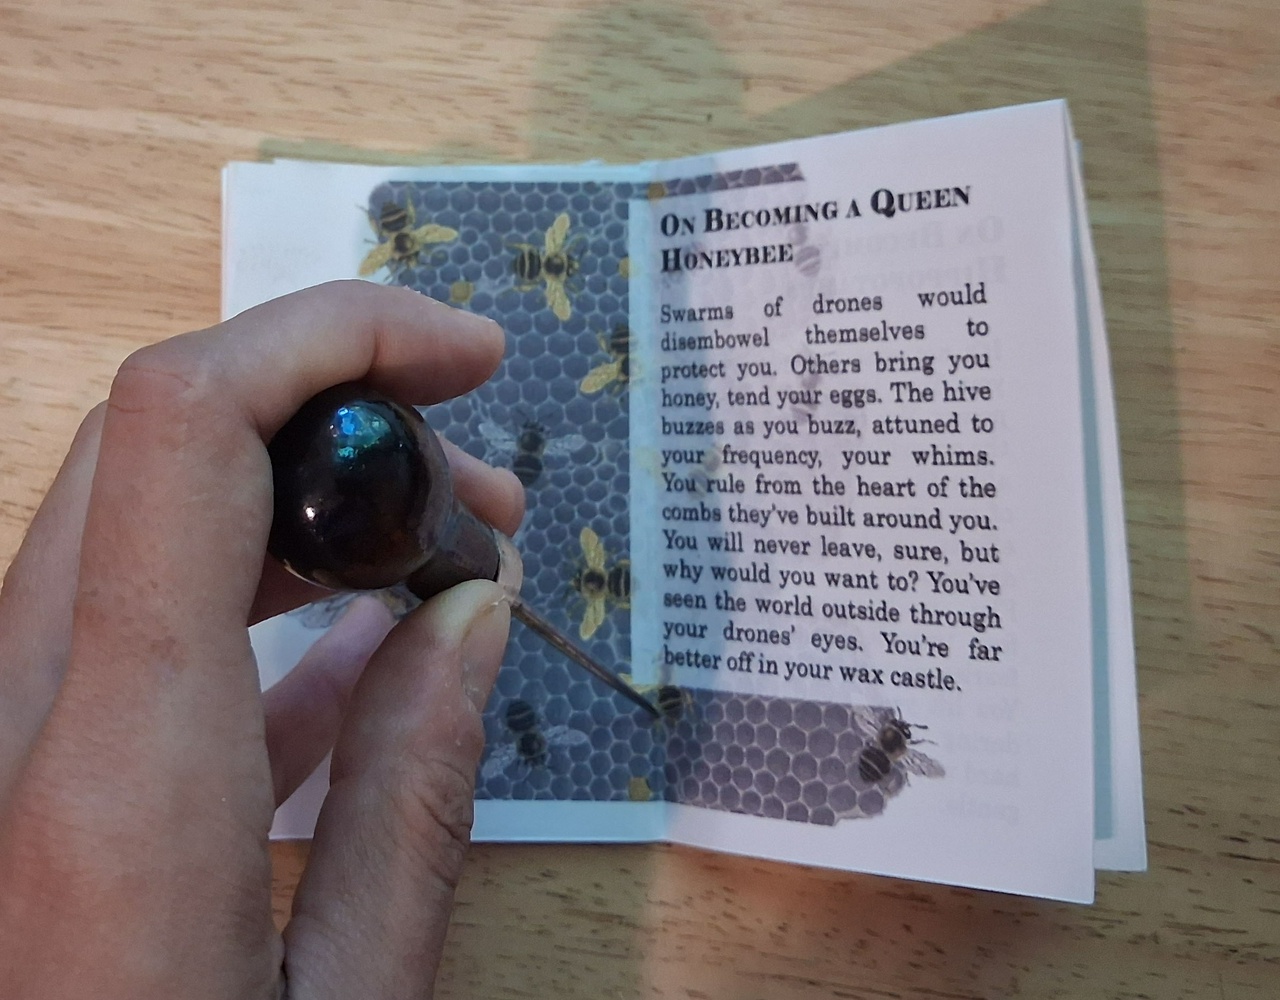
Then, I started a thread in the center of the book and pulled the needle through to the previous page:
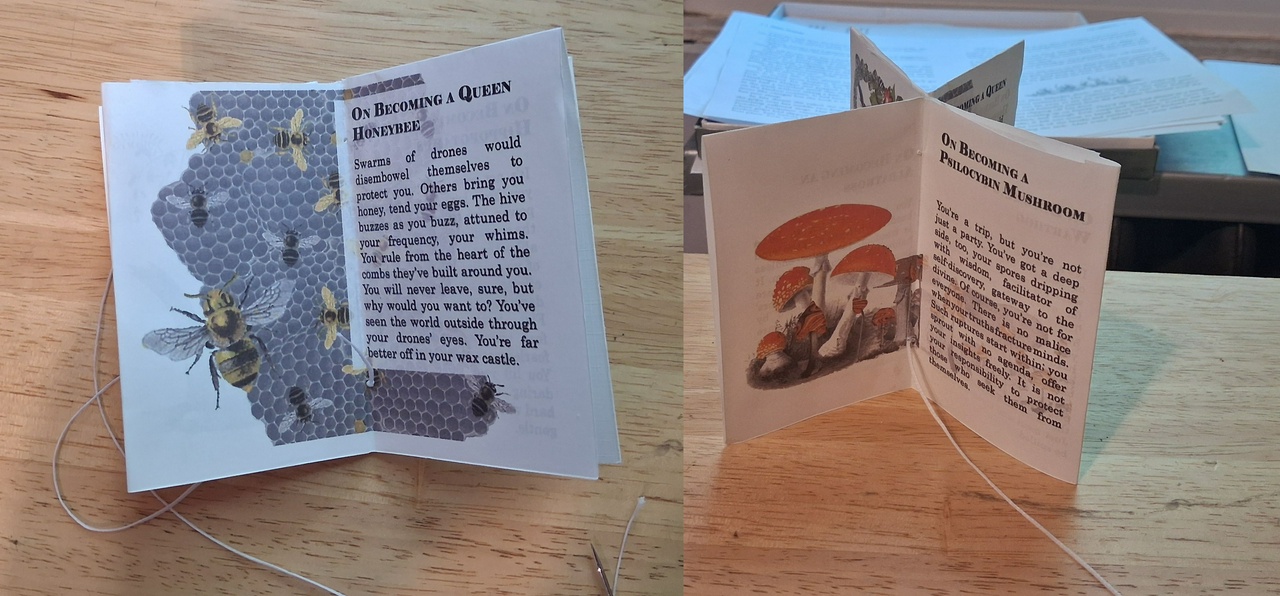
…and ran it up to the top hole, through to the next page and out at the bottom, etc. until I got back to the center and tied the two pieces off. Then the last step was just to cut off the top and outer edge folds with a paper cutter and the book was complete!
I should also note that your page layout will be different if you’re doing a 16-page version. Here’s the front and back:
Double Chaps
There is nothing complicated about the interior of this one. It’s just a simple folded saddle-stitch booklet. For the book content, I laid it out in InDesign and used the booklet printing option to have it paginate it automatically. Once each of the two interiors was printed, I folded it:
…then used an awl to poke 3 holes the entire way through the pages and cover through the central fold for the tie binding:
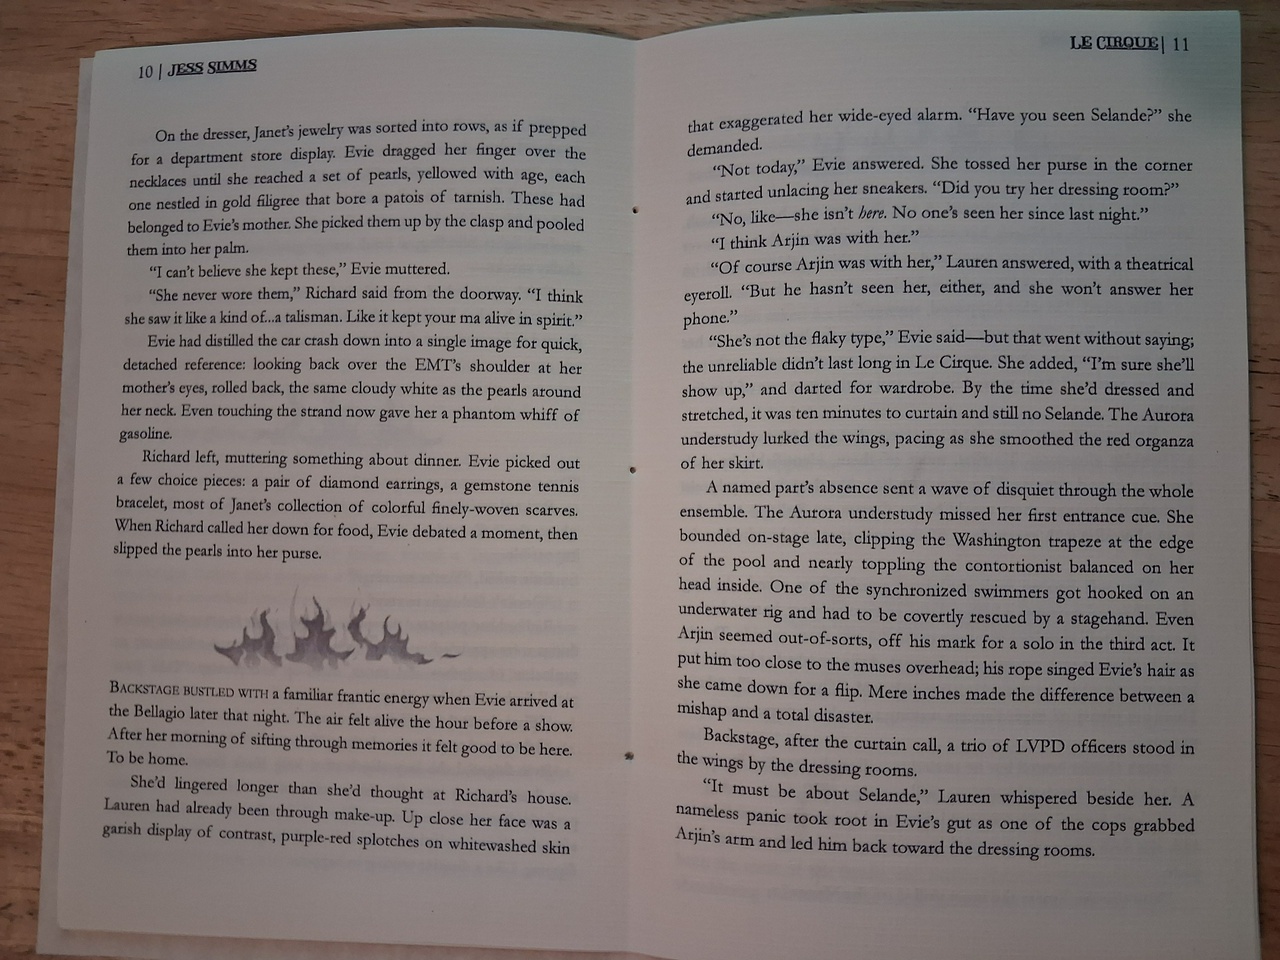
It could be staple-bound, too, I just prefer the look of the twine. The way I do it is to start in the middle fold in the center hole:
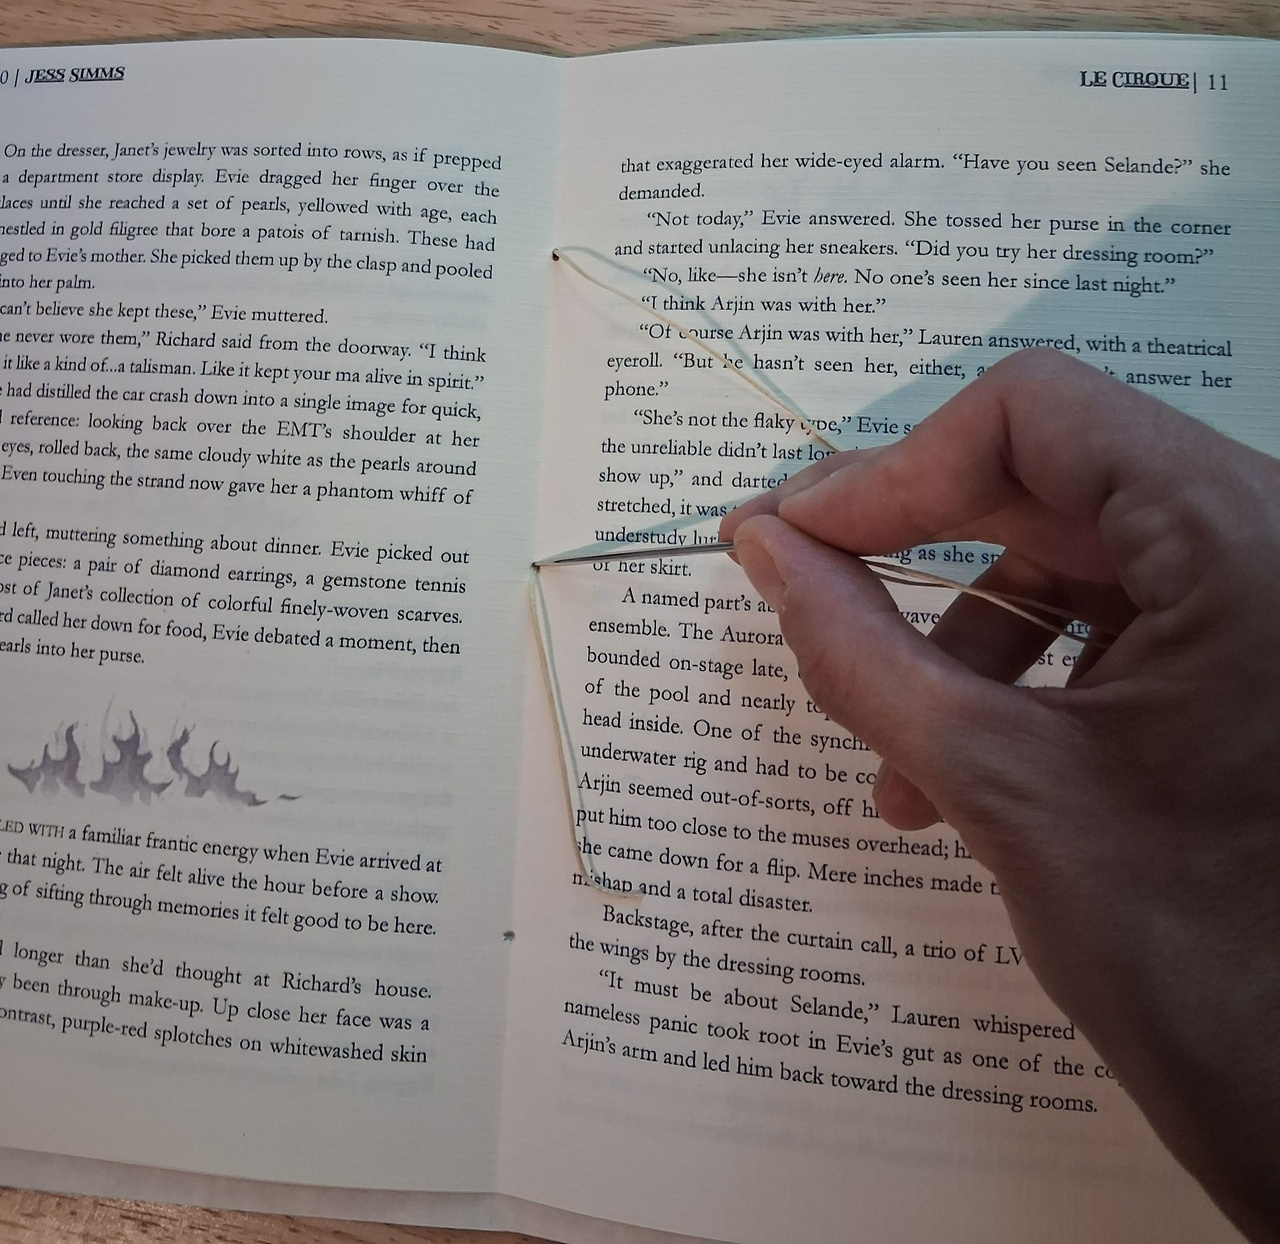
…then go into either the top or bottom, then back through the center and up the other side to meet in the middle:
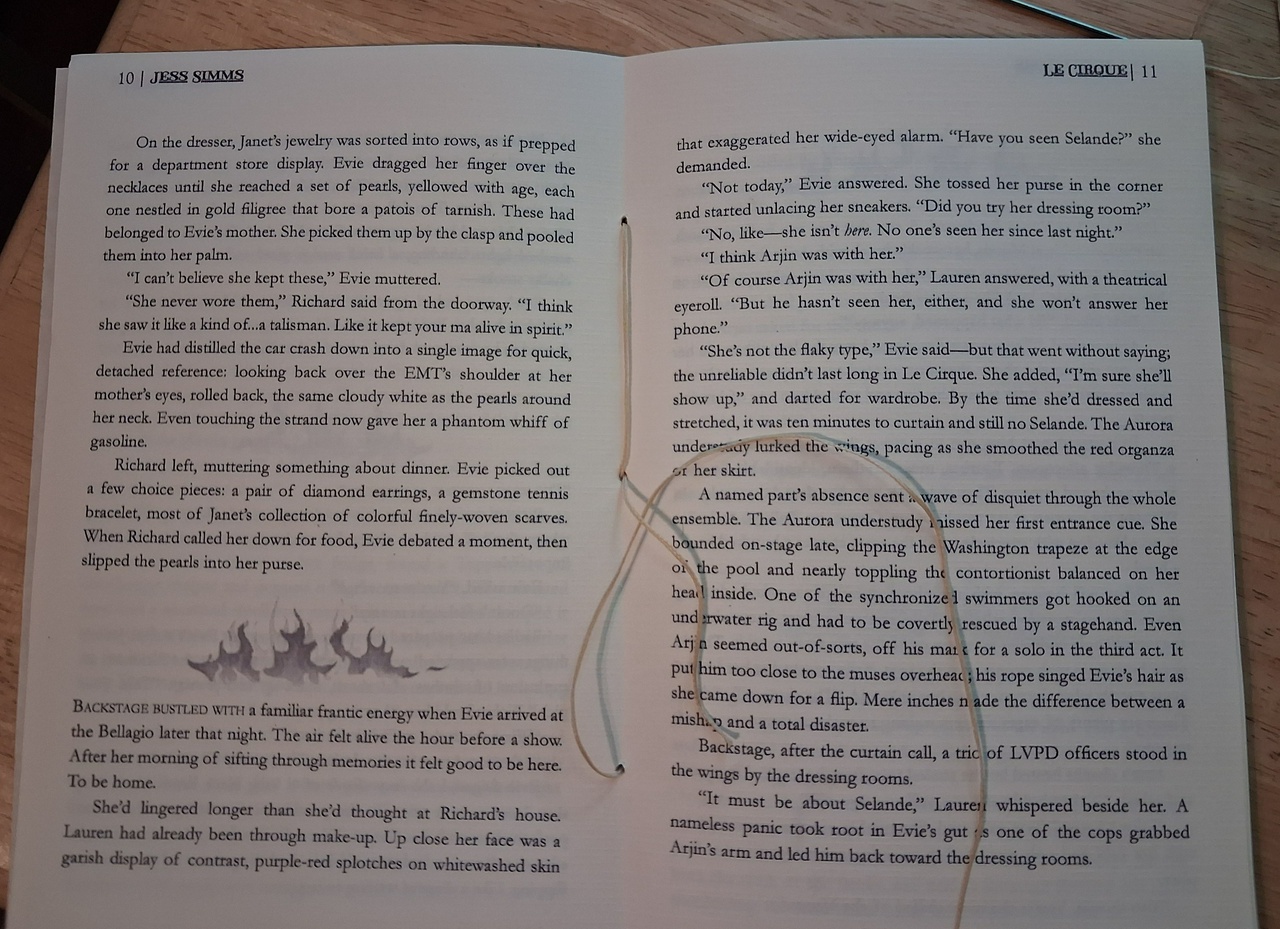
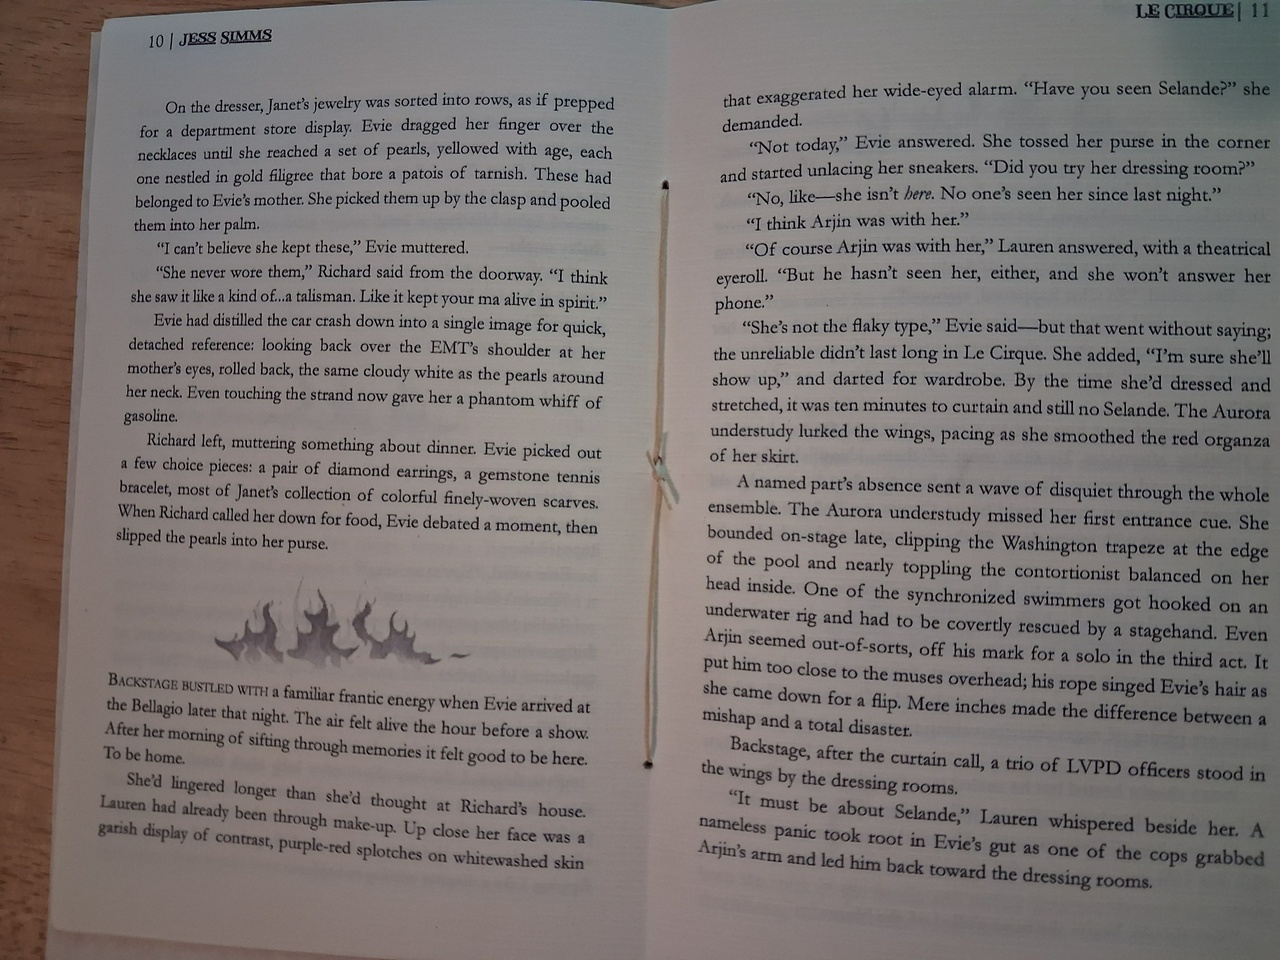
where I tie a knot and trim the ends:
What’s different about the double chapbook format is really just the cover. It starts as an 11” X 17” piece. This is divided into thirds. Each book’s front cover is on the right-most third, the back cover in the middle third, and the interior of the other book’s front cover on the left-most third (for this book, I left that blank).
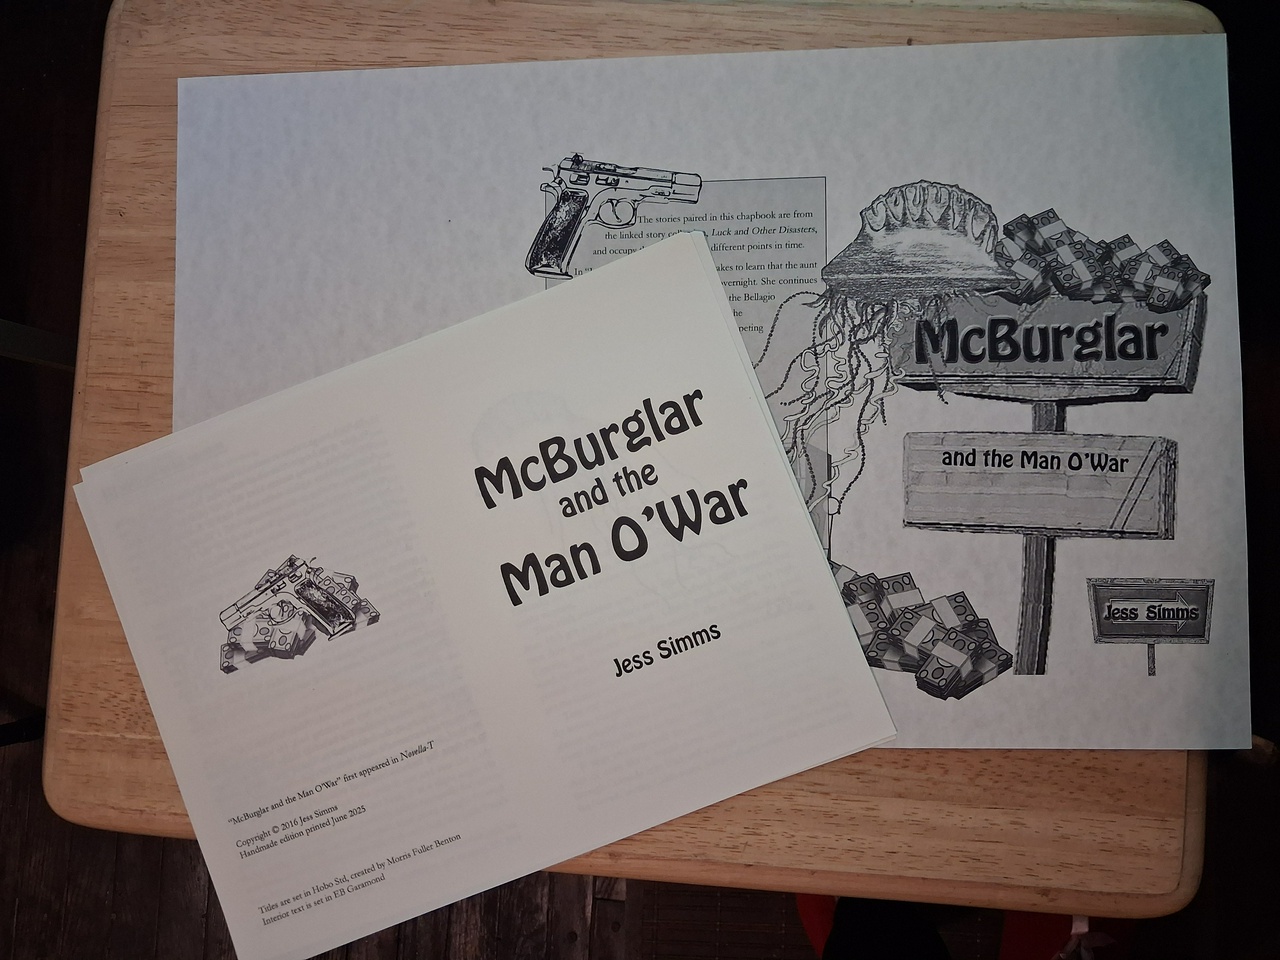
To assemble the book, I start by folding the cover into thirds:
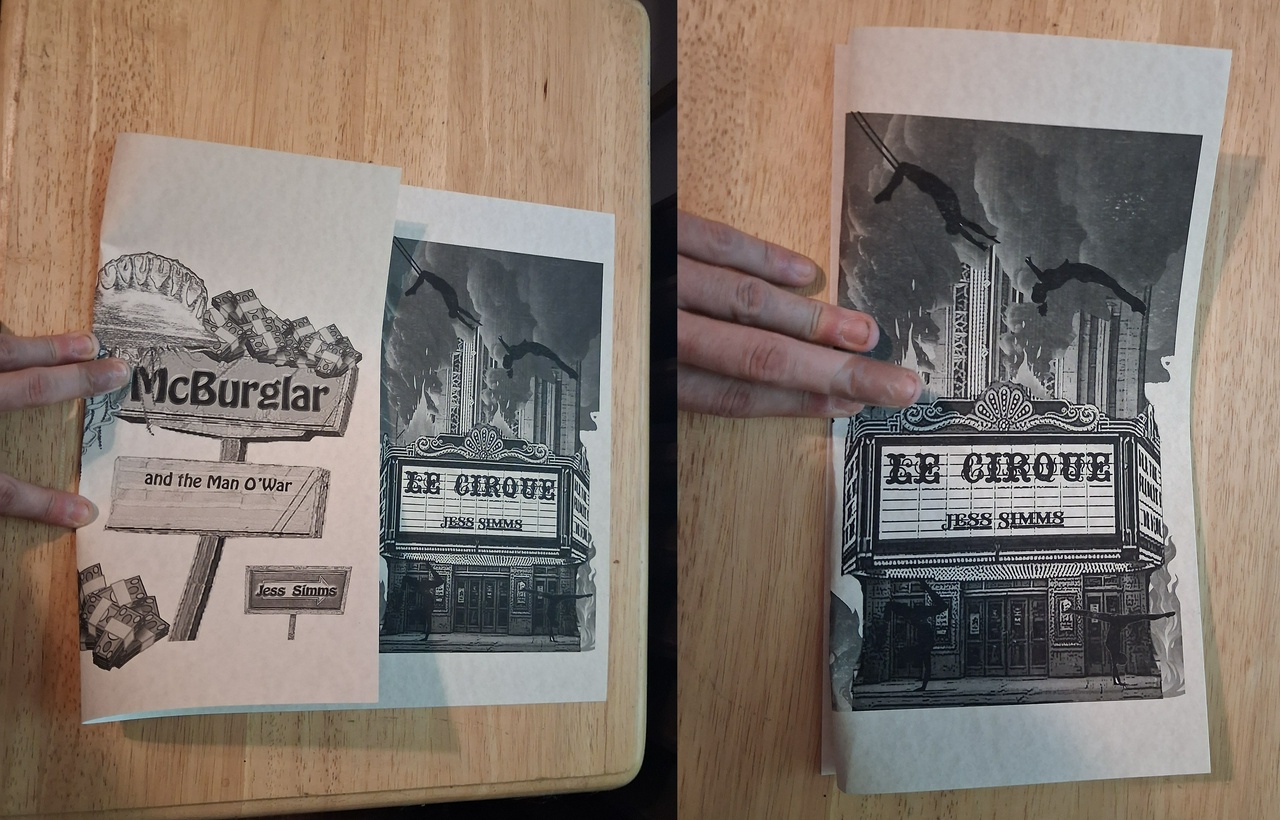
Then I trim off the blank portion at the top and bottom:
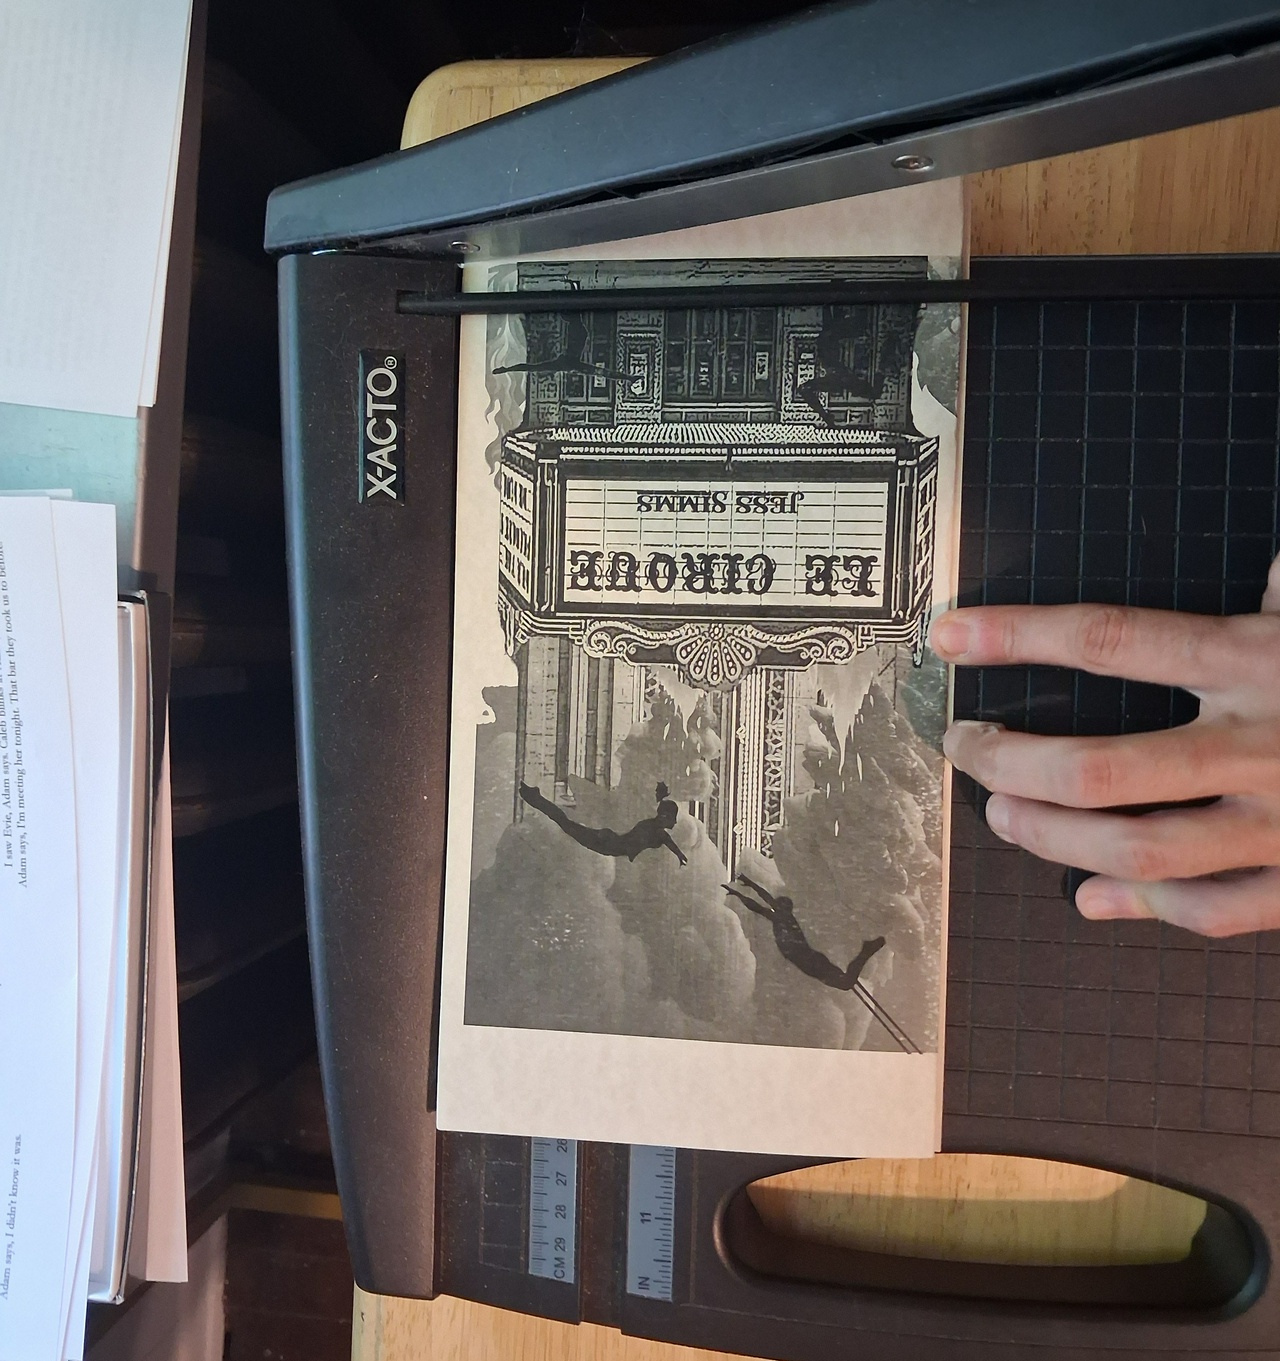
…and that leaves you with an accordion-style cover, where both books share a back cover but each have their own front cover and spine. Then you just stitch or staple the interior of each book into its corresponding cover, and you have a very cool two-sided book.
Hopefully this has been helpful for folks who want to make their own handbound books! A lot of them do look more complicated than they really are, so if you come across other approaches that you want to emulate, my advice is to buy one then reverse-engineer it once you get it home. That way, you’ll have a physical example to use as a template, rather than trying to figure it out from scratch.
See similar posts: